 Business customer



Why build a table yourself?
Build your own table – individual, practical and sustainable
Building a table yourself is not only an exciting DIY project, but also the perfect way to combine functionality, style and sustainability. You decide for yourself how large, high or stable your table should be – and can tailor it precisely to your space and your use.
And the best part: You can find many of the materials directly in our shop – from table legs to table top connectors, cleats and table extensions right through to clever cable grommets for more order on the table.

Table Ideas & Materials
Which table would you like?
Before you get started, it helps to get an overview of which table best suits your project. Here are a few examples for inspiration:

Dining table: large, solid, stable – e.g. made of oak or pine with metal table legs

Desk: functional, with cable grommet & socket holder

Planning & Preparation
Good planning saves hassle
- How large should the table be?
- Will it be moved often or remain in one place?
- Which table legs should be used?
- Do you need sockets, drawer runners or extra stability?
- Wood type: solid wood (durable & high-quality), glued laminated timber (affordable & easy to work with), reclaimed wood (for rustic one-offs)
Material checklist:
✔ Tabletop
✔ Table legs (e.g. in U-, X- or hairpin form)
✔ Tabletop connectors or bar washers
✔ Screws, wall plugs, cover caps
✔ Tools: drill, saw, screwdriver, sander

Unsere Topseller Produkte für den Tischbau


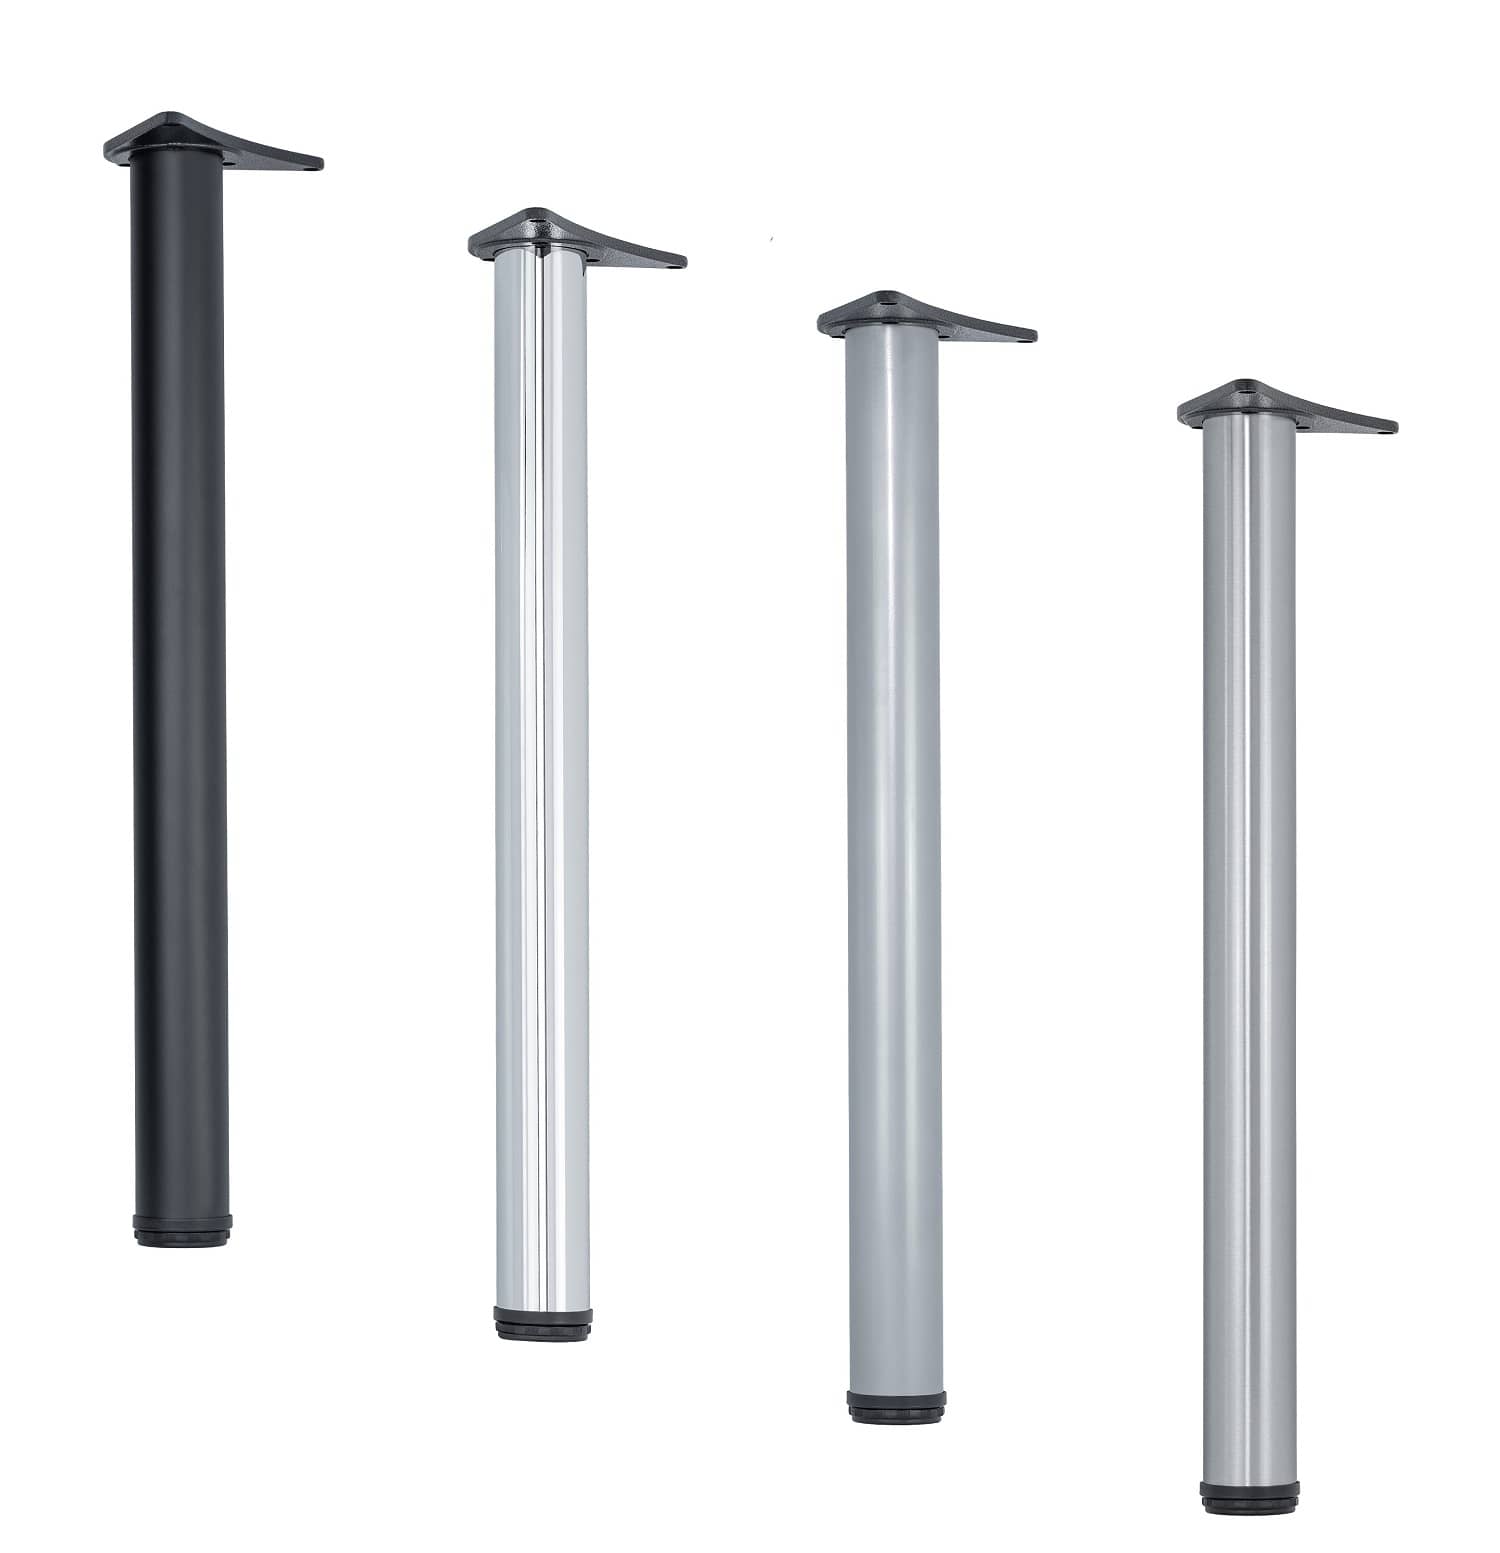
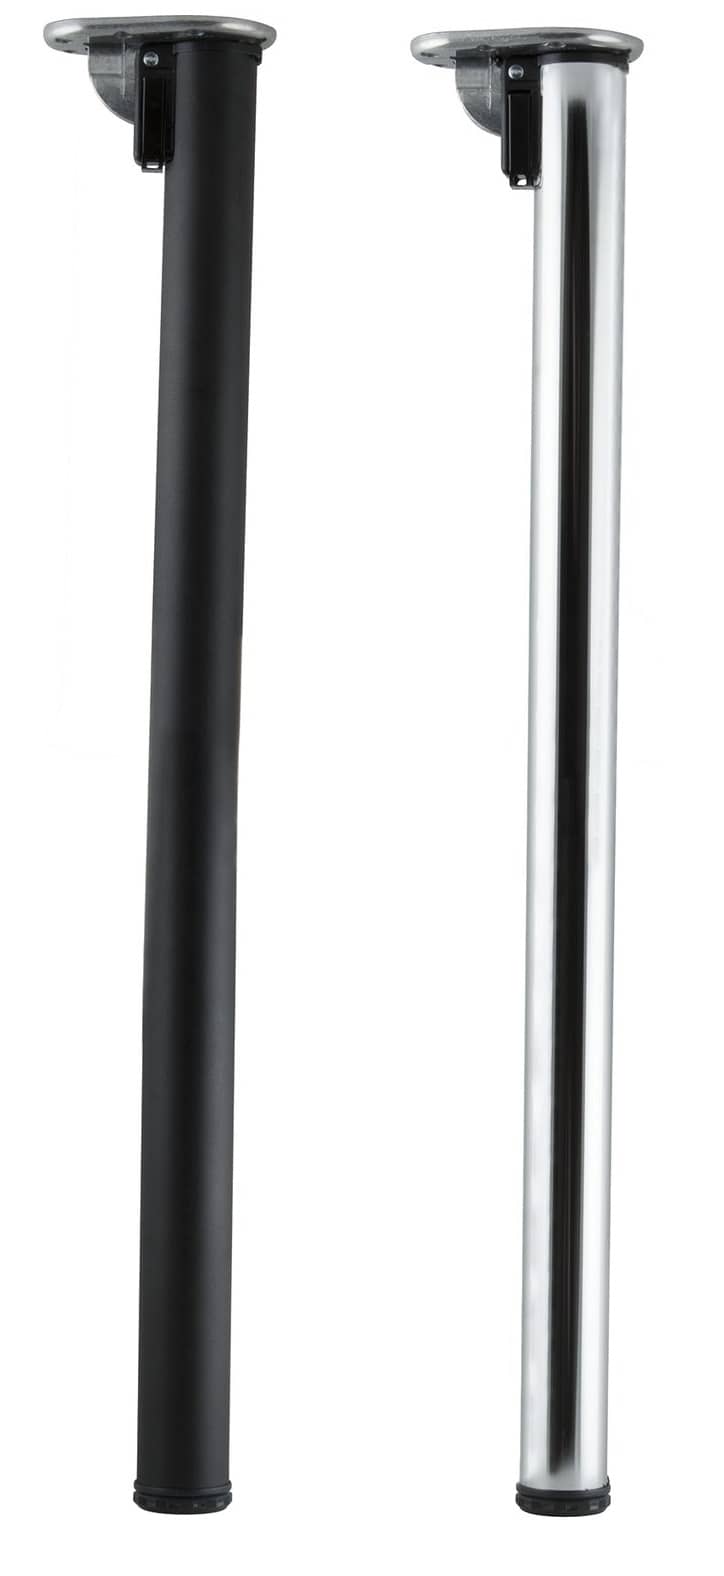


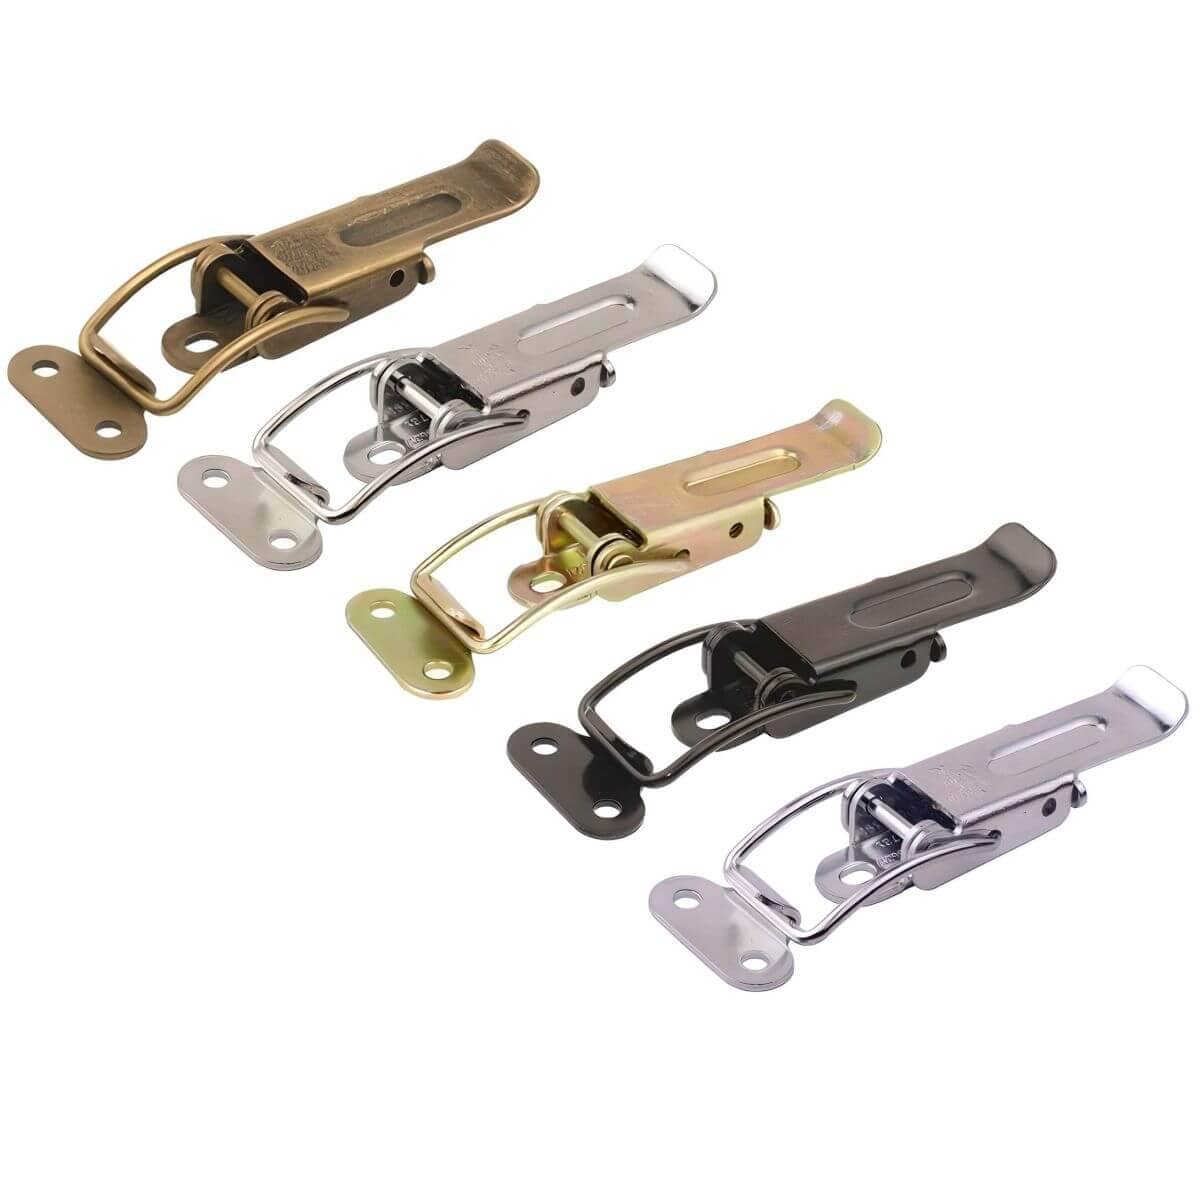


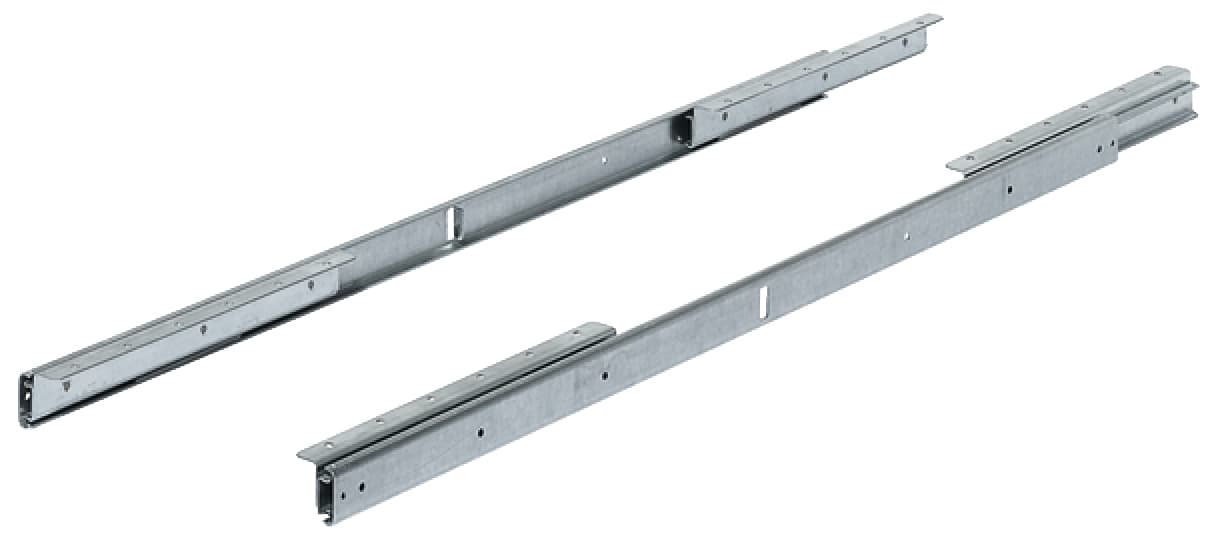


🧰 Assembly instructions: step by step to your own table
With these instructions, your DIY table project will be a success – whether you are planning a minimalist side table or a robust dining table. We guide you through all the stages – from preparation to the stable final assembly.

Step 1: Prepare the tabletop
- Choose your tabletop: solid wood, glued timber or coated boards are ideal.
- Measure precisely and mark your dimensions with a try square.
- Cut to size with a circular saw, table saw or jigsaw.
- Smooth all edges with sandpaper or an orbital sander.
- Optional: surface treatment with oil, wax or varnish – depending on the look and level of use.
Step 2: Mount the table legs
- Position the table legs (e.g. U-frame, hairpin legs or classic wooden legs) on the underside of the top.
- Mark the drill holes – ensure the same distance from the edge.
- Pre-drill (depending on the material) and then secure the legs with suitable screws .
- For particularly stable constructions: use table top connectors or butterfly braces .


Step 3: Additional elements & finishing touches
- Optional: Cable grommets for desks can be fitted – drill a hole with a Forstner bit and clip the insert into place.
- For extending tables: install table extension – follow the instructions for the extension system.
- Check all screw connections again to ensure they are securely tightened.
- Turn the table over, stand it up and level it with a spirit level.
- If necessary, fit floor protectors to the feet to avoid scratches.

💡 Kevin from Heimwerkertools
Additional tips:
- Use cover caps for screw holes – this looks neat and professional.
- A table with cross battens remains dimensionally stable even with temperature fluctuations.
- mounting brackets or connector plates increase stability for large tables.

Build your own desk – How to make your DIY project a success step by step
15.05.2024 | In this guide, we show you how you can build your own customised desk – from choosing the tabletop to fitting the table legs. Including tips on cable management & accessories.

Cleaning and caring for wooden furniture – 11 top tips for beautiful surfaces
12.03.2024 | Discover simple and effective tips for cleaning and caring for your wooden furniture – from natural household remedies to the right sealant for long-lasting protection.

Kreg systems – precise work for carpenters & DIY enthusiasts made easy
06.02.2024 | Find out how Kreg's innovative tools make drilling, dowelling and assembly easier for you – for professional results in every DIY project.